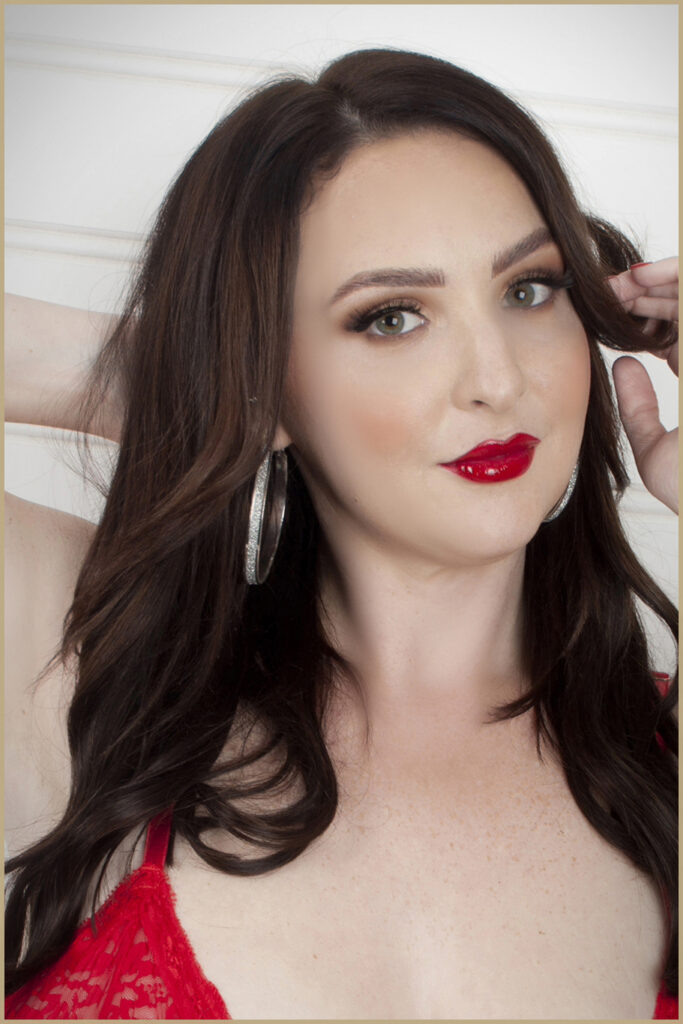
Appling makeup for your photo session?
Here are some tips that can help you get “camera ready”.
Make up can bring out all your best features if applied correctly.
Turn up the volume
If you like wearing makeup on a day-to-day basis, be sure to turn up the volume for photographs. Well done, camera-ready make up should be a touch more than usual. If you look in the mirror and say: “Whoa. That’s a bit much!” It’s probably perfect!
Don’t apply sunscreen or products with SPF. SPF can cause a white “flashback,” which can make you appear washed out in photos.
If you want a natural look…be careful. No makeup can make you look washed out. You want your features to “pop” and it can be done in a way that looks natural. Not wearing makeup is not recommended.
Match your foundation.
Make sure to choose a foundation that matches both your face and neck. If your neck is slightly darker than your face, go with a foundation that matches the darker tone. These shade differences may not be obvious in person, but can show up in photography.
Don’t forget to conceal
Studio lighting can emphasize dark circles, so don’t forget to apply it under your eyes. Though you may typically use a concealer that is two to three shades lighter than your skin, if you know you’ll be on camera, stick with a product that is only one to two shades lighter than your skin tone. You want to find the right balance between brightening your under-eye area, while making sure you don’t look washed out. If you’re worried your concealer might be too light, mix in a little foundation with your concealer.
The last thing you want is your makeup melting in the middle of a photoshoot. Set areas around your T-zone that can get oily with a loose setting powder. Typically, these areas are your forehead, under-eye area, and around your nose and mouth. Use a translucent powder, which will set your makeup without giving you that unfortunate caked-on look and won’t make you look washed out.
Choose blush, foundation, and powder that have no shimmer. When these specific products have shimmer, your face can look oily with studio lighting. Plus, matte products are easier to blend together, which is key for achieving flawless skin. Dust a translucent powder over your blush to diffuse the color and make you look “lit from within and naturally blushing.”
Add a little extra
Studio lighting can remove up to 20 percent of color and intensity from your makeup. So, add a little extra makeup to stand out in photos.
Focus on one feature
THE EYES! You want to draw the viewer to your expression. Add shadow to contour your upper lid. Use a darker shadow to contour your eye to add extra oomph. To make your eyes pop, apply a color that coordinates with your eye color. Have blue eyes use copper or gold. Have green eyes use a mauve.
Make sure your lashes are black, thick, and long, as lashes can disappear in photography. Add a few more coats of mascara than you normally would, or if you prefer, use some false lashes to emphasize your eyes.
Fill in your eyebrows
Always fill in your eyebrows before getting your photo taken.
Stay away from lip colors that are nude or bright red with a brown tone.
If you still want a natural look, try lip colors that are pink or berry than nude, as more color tones will make your lips pop in photography. Dark reds with brown undertones dull the teeth. Reds with pink tones work better. To avoid dry and cracked lips showing up in photographs, make sure you use lip balm before you apply any products.
